
Wildlife tour preparation has never been only about packing more equipment. The core problem has always been the same: how to keep making photographs when distance, weather, transport, and fatigue start removing choices.
The modern kit looks digital, but its logic has older roots. Plate cameras, organized reserve travel, burst shooting, encrypted drives, and pre-dawn vehicle departures all point to one principle: preparation follows the weak point of the medium. For wildlife tours, prep rules remain itinerary-bound rather than universally portable.
In this Article
- From Victorian Expeditions to Digital Safaris
- Curating a Field-Tested Equipment Roster
- Managing Battery and Data Integrity Abroad
- Conditioning Body and Conduct for Remote Environments
From Victorian Expeditions to Digital Safaris
Early wildlife photography demanded a laboratory mindset before it demanded a photographer’s eye. Wet-plate field work in the 1850s through the 1880s required plates to be coated, exposed, and developed before the emulsion dried. Shade, chemistry, glass, water, and transport belonged to the photographic kit, not to the margins of camp logistics.
That history matters because it corrects a modern habit. Many photographers treat preparation as a gear list assembled the week before departure. The Victorian field worker had no such illusion; the camera could not be separated from the process that kept the recording medium alive.
The tour replaced the expedition, but not the constraints
Mid-20th century wildlife travel changed the shape of access. Remote reserves and lodges became more reachable through scheduled flights, road transfers, and group itineraries rather than one-off scientific journeys. The traveler no longer had to build an expedition from scratch, but the itinerary introduced its own discipline: fixed departure times, vehicle rules, luggage limits, and shared charging points.
A beginner may read that as convenience. A stronger reading is that organized travel moved the constraint from exploration to coordination. The photographer gained access but lost improvisational space.
Digital capture shifted the failure point
The 2003 to 2010 digital transition changed what needed protection. Film handling gave way to battery rotation, sensor cleaning discipline, card capacity, and duplicate file storage. Dust still mattered, but now it threatened sensors and lens mounts during quick changes beside a track.
Blue hour departures sharpen this shift. A camera that worked perfectly at camp may fail in practice if one battery sat uncharged, if the card wallet contains yesterday’s unverified files, or if the sensor carries dust from a rushed lens swap. Modern wildlife preparation is less romantic than the plate-camera era, yet it is just as procedural.
Curating a Field-Tested Equipment Roster
Start with distance, not prestige
The common question sounds simple: what lens should travel on a wildlife tour?
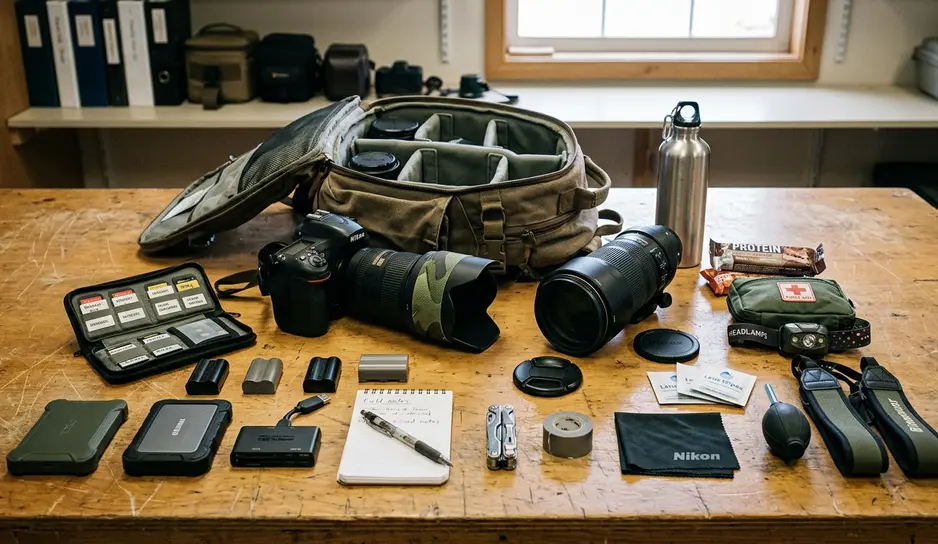
The detailed answer begins with likely subject distance, vehicle rules, and weather exposure. For vehicle-based wildlife work, a long lens in the 400-600 mm range covers many distant animals and birds. That does not make a single long lens sufficient. A sealed shorter zoom remains useful when an elephant approaches the road, a bird colony fills the foreground, or a guide vehicle stops too close for the long lens to frame the scene.
This is where a superzoom-only approach becomes fragile. It may reduce bag weight, but it also narrows handling speed, aperture choice, and dust-control strategy. A more resilient roster usually gives one camera body the long lens before the drive starts, then keeps a second sealed body ready with the shorter zoom.
Recommendation: Assign one body to the longest lens before dusty drives. That single decision reduces field lens changes when wind lifts grit from roads and vehicle floors.
Build redundancy without building clutter
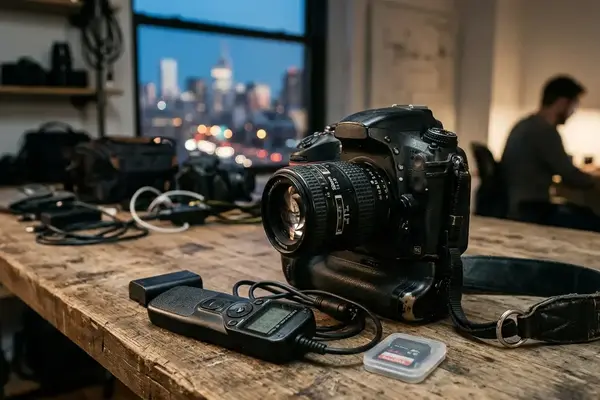
Backup camera bodies belong on serious wildlife tours because the cost of failure is not just repair; it is access lost in real time. The spare body does not need to match every flagship feature of the primary camera, but it should share batteries, menus, or lens compatibility where possible. Multiple memory card formats can help only if the workflow stays simple enough to execute when tired.
Weather sealing deserves sober treatment. It is not a guarantee against dust or humidity. It is a margin of resistance, and that margin depends on mounted lenses, closed doors, clean seals, and sensible handling.
Choose support by setting
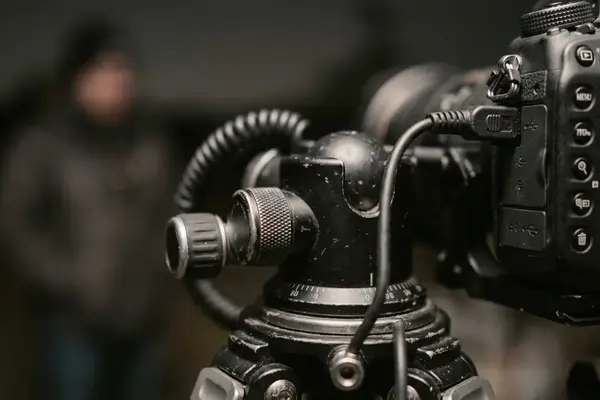
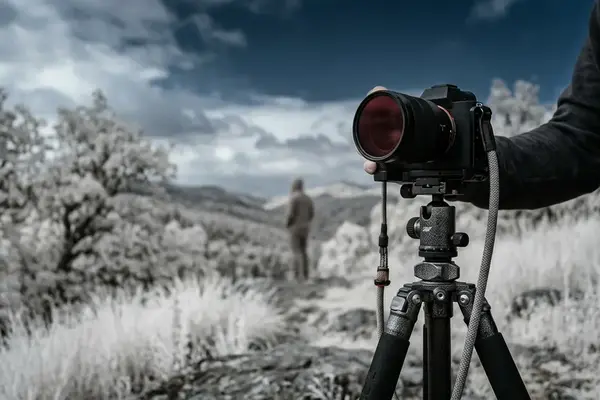
The best support system changes by setting. A carbon-fiber tripod with a gimbal head earns its place in hides, on shorelines, and around camps where extended tracking and patient composition matter. In a vehicle, tripod legs may be unsafe, awkward, or forbidden. A beanbag can outperform the tripod there because it matches the working surface rather than fighting it.
This comparison also affects Long exposure work. A quiet camp scene at dusk, a lodge waterhole under fading light, or a Blue hour environmental frame may require the tripod. Fast mammal tracking from a vehicle usually rewards the beanbag and disciplined hand placement.
Post-processing tools such as Nik Color Efex Pro and Nik Silver Efex Pro can refine tone later, but they cannot restore sharpness lost to the wrong support choice. Stability remains a capture decision.
Managing Battery and Data Integrity Abroad
Calculate the day that stresses the system
Power planning should begin with the most demanding shooting day, not the average one. A realistic stress day may include a pre-dawn departure, long burst sequences, midday image review, evening backup, and only one shared outlet at camp. If the plan survives that day, quieter days become easier.
Daily storage estimates should come from the camera’s actual RAW file size multiplied by a realistic high-activity frame count from a local test day. Then add room for video clips, focus brackets, and failed sequences that should not be culled in the field. Wildlife photographers often underestimate failed sequences because they remember the keeper, not the many frames made while grass crossed the subject’s eye.
Respect airline and charging constraints
Spare lithium-ion batteries carried by air are commonly subject to watt-hour limits. Batteries up to 100 Wh are generally treated differently from larger packs, so visible labels, protected terminals, and carry-on packing matter. Universal adapters should travel with the camera kit, not disappear into general luggage.
Solar chargers need a narrower role than advertising often suggests. They are useful when the itinerary includes daylight downtime at camp. They are a poor primary plan for continuous vehicle movement, dense canopy, strict weight limits, or days when the panel stays folded in a moving bag. Manufacturer transport certification helps at packing time, but it does not create sunlight or charging time.
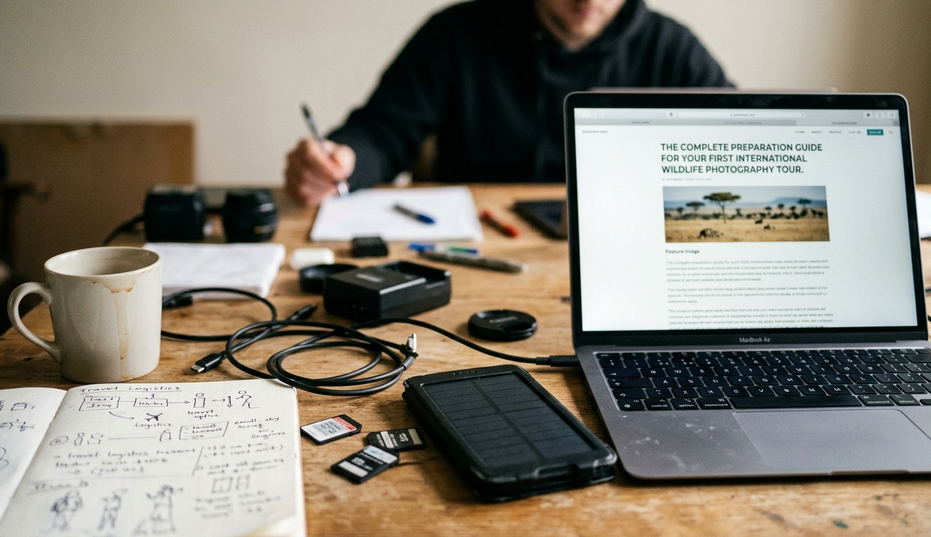
Risk Factor: Data redundancy is not the same as carrying many cards. The weak point is often the unverified evening copy made while tired, under low power, or using a single shared outlet.
Use a repeatable backup sequence
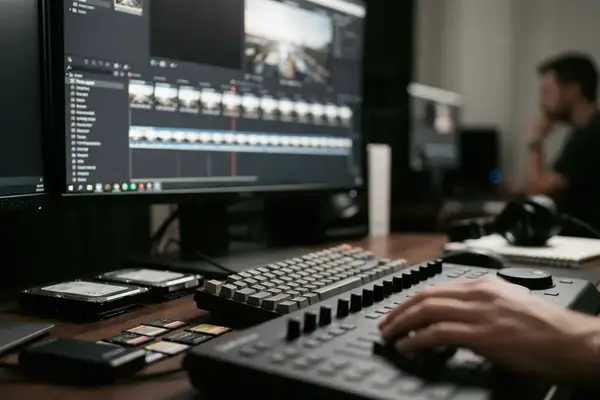
A practical field sequence is simple. The card remains untouched after import. The first copy goes to an encrypted portable SSD. The second copy goes to a separate encrypted drive stored in another bag. Verification happens before any card is formatted.
- Write the card label or slot position into a small field note before import.
- Copy the full folder structure to the first encrypted drive.
- Copy the same folder to a second encrypted drive kept away from the first.
- Verify the copies before deleting or formatting anything.
- Charge batteries only after the copy process has enough power to finish without interruption.
The sequence looks slow on paper. In camp, it prevents improvisation at the exact hour when judgment is thinnest. Long travel days, dust, heat, and dinner calls all pressure the same decision: format now or verify first. The prepared photographer has already removed that choice.
Conditioning Body and Conduct for Remote Environments
Train with the actual burden
Physical preparation is not general fitness with a camera nearby. It is rehearsal for how the body behaves while carrying the exact pack, climbing into vehicles, kneeling quietly, standing in heat, and holding a long lens steady without bracing against another traveler.
Run several timed practice hikes before departure with the loaded camera pack. Include at least one session on uneven ground and one session in the footwear intended for the trip. A pack that feels acceptable in a living room may pull differently after a steady climb or when a second body shifts weight against the hip.
Practice silence and restraint
Camera conduct can affect both photographs and people. Disable unnecessary confirmation beeps. Rehearse exposure changes by touch. Learn the position of shutter, drive mode, exposure compensation, and focus controls with gloves or sweaty hands. These small rehearsals reduce visible fussing when wildlife appears.
Local customs deserve equal preparation. Proximity rules may involve wildlife welfare, guide authority, and indigenous communities whose presence is not part of a photographer’s visual inventory. The most disciplined photographers ask fewer performative questions in the moment because they studied conduct before arrival.
Critical Insight: The camera bag is part of behavior. If it blocks a vehicle aisle, rattles against metal, or forces repeated lens changes in dust, it changes the field experience for everyone nearby.
Match medical prep to the region
A basic medical kit should follow regional health advisories issued roughly six to eight weeks before travel. That timing leaves room for clinic appointments, prescriptions, and staged vaccinations where required. The kit should also reflect the working day: blister care for long walks, sun protection for exposed drives, and medications stored where heat will not degrade them unnecessarily.
One compact checklist keeps the method grounded:
- Confirm airline battery rules and pack spares in carry-on with terminals protected.
- Test the full camera bag on a timed walk before the trip, not at the departure gate.
- Assign one body to the long lens before dusty drives to reduce lens changes.
- Carry two encrypted backup drives and store them in separate bags.
- Review local expectations for wildlife distance, guide instructions, and community photography before the first drive.
At first light, the vehicle stops beside a low ridge. A photographer in the second row lifts the long-lens body from a beanbag, leaves the shorter zoom resting beside it, and waits while dust drifts past the door. The guide whispers that a jackal is moving below the grass line. No zippers open. No cards are being searched. The frame is made before the animal turns.


Reader Comments
The conversation starts with you.
Your Comment