
In this Article
- What Happens When Crowds and Clouds Vanish from Your Frame?
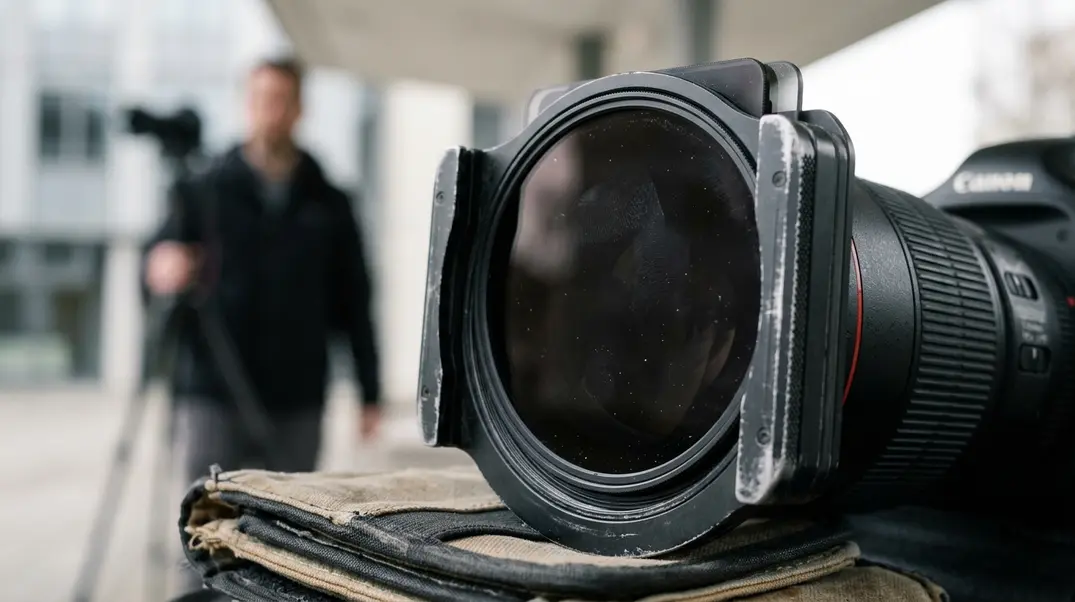
- Selecting and Understanding Heavy Neutral Density Filters
- Essential Gear for Controlled Daytime Exposures
- Step-by-Step Long Exposure Workflow
- Applying Techniques to Urban Structures
- Refining Results and Common Pitfalls
What Happens When Crowds and Clouds Vanish from Your Frame?
Daytime long exposure in architecture is not a trick for making a busy place look empty. It is a decision about visual hierarchy.
The building stays authoritative. People, traffic, water, flags, and clouds become temporary marks that either dissolve into atmosphere or draw the eye away from the structure. A stone museum can hold its edge for minutes if the camera platform does not shift, while a tour group crossing the steps may soften into pale motion. That contrast between fixed mass and passing activity gives the technique its architectural force.
Pedestrians usually begin to lose individual identity once exposure times move beyond roughly 8 to 15 seconds. Dense clusters still leave tonal smears, especially near entrances, ticket lines, and shaded arcades where people slow down. Cloud streaking becomes legible during exposures in the 30 to 240 second range, depending on wind speed and focal length.
The tension between permanence and motion
A conventional architectural frame often treats movement as clutter. Long exposure treats movement as evidence of time. The photographer decides whether the crowd should disappear, the sky should pull across the roofline, or reflections should skim over glass like a second facade.
Critical Insight: A 3-minute exposure will not remove a person who stands still in front of the building; it will record a pale, stubborn ghost rather than an empty plaza.
This is why the strongest daytime architectural exposures begin with observation rather than filtration. Watch the plaza for one minute before mounting a dense filter. The useful question is not whether people are present. The useful question is whether they keep moving.
Selecting and Understanding Heavy Neutral Density Filters
The common question: how strong should the filter be?
The answer starts with the unfiltered exposure, not with the desired drama. Meter the scene at the aperture and ISO the architecture needs, then choose the filter strength that moves the shutter into the required time range.
A 6-stop neutral density filter reduces light by a factor of 64. A 10-stop filter reduces it by 1024. A 15-stop filter reduces it by 32768. Those numbers matter in the field because they turn a clean handholdable exposure into a shutter speed that can erase motion or draw clouds across the frame.
If the metered exposure is 1/125 second, a 10-stop filter changes it to roughly 8 seconds. A 15-stop filter changes it to something like 4 minutes 22 seconds. If the metered exposure is 1/4 second in dusk-bright conditions, a 10-stop filter changes it to around 4 minutes 16 seconds, which places the work close to Blue hour timing even before the sky fully darkens.
Compatibility with architectural lenses
Wide-angle architectural lenses punish careless filter choices. Filter-holder intrusion may appear near the corners, especially when the lens is shifted, tilted, or used near its widest field of view. A filter system that behaves well on a standard zoom may vignette badly on a shifted facade study.
Dense filters also deserve a plain-surface test before important work. Photograph a pale wall, pavement, or overcast sky and inspect the raw file for infrared leakage or color bias. Pale stone and white cladding reveal warm, cool, magenta, or green shifts quickly.
Recommendation: Carry one moderate filter and one heavy filter rather than assuming the darkest glass belongs on every scene. A stronger ND filter is not automatically better: if the light changes during a 10-minute exposure, the facade may record unevenly and the sky can become patchy.
Essential Gear for Controlled Daytime Exposures
Beginners often think the filter creates the photograph. In practice, the support system decides whether the building stays sharp enough to justify the exposure.
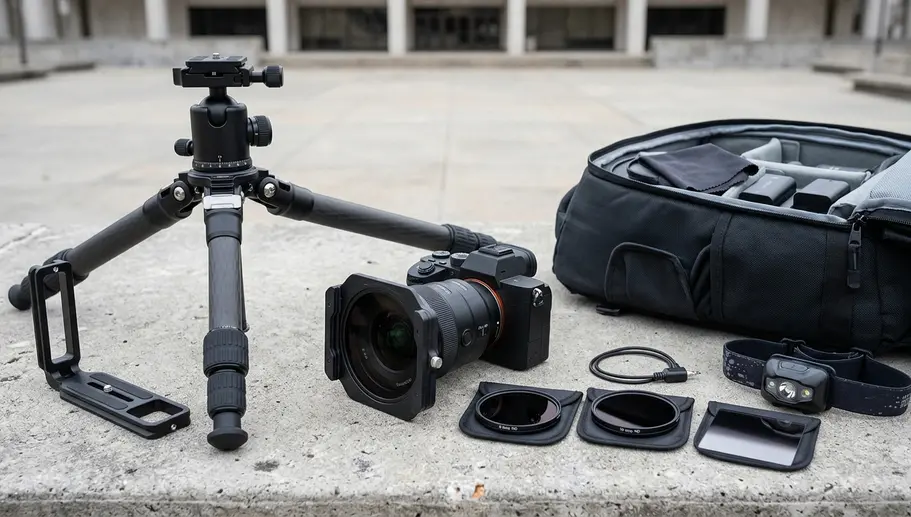
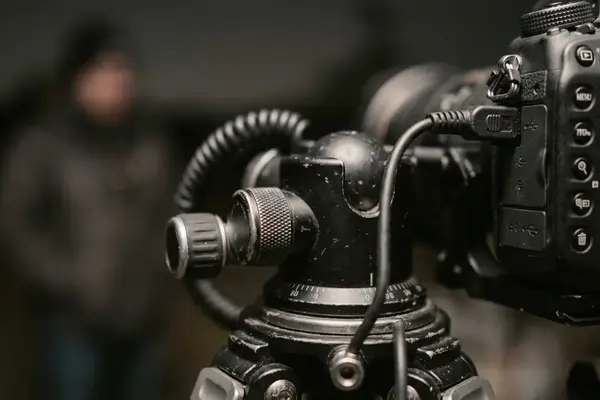
The tripod needs torsional stiffness, not merely height. The head should lock without creeping after composition. The release method should let the shutter open without a finger jab at the camera body. Field experience revealed that many soft architectural long exposures come from minor platform movement rather than inaccurate focus.
Camera settings that protect detail
Use ISO 64 or ISO 100 when available to preserve highlight latitude and avoid forcing the aperture beyond the lens’s best range. Many lenses deliver architectural sharpness around f/8 to f/11. Stopping down to f/16 or f/22 may increase depth of field, but diffraction can soften fine facade detail, window mullions, and carved stone.
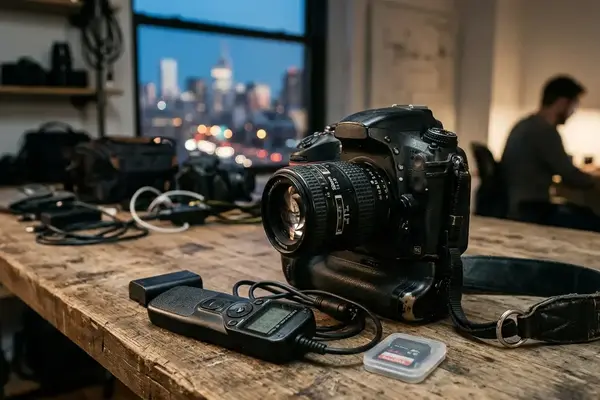
A 2-second self-timer can work for exposures under 30 seconds. For bulb exposures beyond the camera’s timed shutter limit, a locking cable release or interval timer is more practical. Turn off lens or body stabilization when the camera is locked on a tripod if the stabilization system hunts during a static exposure.
Small controls that prevent large defects
Cover the viewfinder on cameras with optical finders during multi-minute exposures. Stray light can affect metering or the recorded frame. Shade the filter holder when side light hits the rig. Check the tripod feet after every adjustment, especially on paving stones, bridges, observation decks, and sidewalks above transit.
Risk Factor: On bridges and elevated sidewalks, vibration from vehicles may soften the building even when the tripod appears stable.
Step-by-Step Long Exposure Workflow
The workflow must happen in a fixed order so the dark filter does not force guesswork through a nearly black viewfinder. The sequence builds confidence because each decision has a place.
Field Checklist for Daytime Architectural Long Exposures
- Compose and level the camera before mounting the dense ND filter.
- Focus manually, then disable autofocus to prevent refocusing after the filter is attached.
- Meter the scene without the filter and record the base exposure.
- Calculate the filtered shutter speed from the base exposure and filter strength.
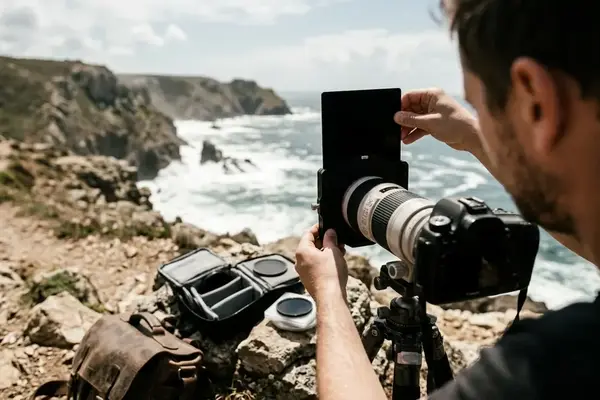
- Mount the filter carefully and check for holder intrusion at the corners.
- Use bulb mode or timed-exposure mode for exposures longer than 30 seconds.
- Allow the tripod to settle for several seconds after touching the camera.
- Make the exposure and review the histogram, highlight warnings, and edge sharpness.

Consider a base exposure of 1/60 second at f/11, ISO 100. With a 10-stop filter, the exposure becomes 16 seconds. That sits in the useful range for reducing moving pedestrians while keeping the session responsive.
A different base exposure changes the decision. At 1/30 second, f/8, ISO 100, a 16-stop total reduction becomes about 34 minutes. That duration is often impractical in changing daylight, within the limits of scenes where sunlight, cloud cover, and pedestrian density shift during a single multi-minute frame.
Focus before darkness
Manual-focus before mounting a 10-stop or stronger filter. Autofocus may fail, or it may lock on a bright reflection rather than the architectural plane. Once focus is set, leave it alone.
Long-exposure noise reduction deserves a deliberate choice. If enabled, it usually requires a second dark-frame exposure of the same duration. A 3-minute frame can keep the camera occupied for roughly 6 minutes, which matters when the light is moving fast across the facade.
Applying Techniques to Urban Structures
Application choices depend on what the building needs. A civic facade may need a clean set of steps and columns. A tower may need cloud motion to reveal height. A glass building may need more restraint because reflections turn passing traffic and moving clouds into part of the facade itself.
Crowded plazas and landmark entrances
For crowded plazas, exposures in the 20 to 90 second range can reduce individual pedestrians to transparent traces if people keep moving. The photographer should watch for bottlenecks: crosswalk edges, security lines, ticket windows, and selfie positions. These areas create ghosts because bodies stop long enough to register.
For landmark entrances where people pause for photographs, even 2 to 4 minute exposures may leave fixed shapes. In that situation, a slightly shorter exposure made during a break in the crowd can look cleaner than a longer exposure made during constant posing.
Clouds, lines, and glass
Cloud movement reads more strongly when the frame includes a wide sky area and wind moves at an angle across the image. Straight movement toward or away from the camera produces less visible streaking. Aligning the cloud direction with a roofline, bridge cable, or tower edge can reinforce the building’s geometry instead of competing with it.
Glass architecture behaves differently from stone architecture because moving clouds and traffic reflections may become part of the facade rather than merely background motion. Reflective glass can brighten during the exposure when clouds part, so highlight warnings should be checked on windows as well as on the sky.
This is where restraint matters. Not every tower needs a 4-minute sky. Sometimes a 16-second shutter gives enough motion to soften street traffic while preserving crisp reflected panels.
Refining Results and Common Pitfalls
Refinement begins by separating technical correction from creative interpretation. Correct the filter’s color cast, flare, dust marks, and tilted verticals first. Then decide how much contrast, clarity, or monochrome treatment the structure can carry.
Color, flare, and verticals
Dense ND filters can introduce warm, cool, magenta, or green shifts. A custom white balance frame or raw file correction is safer than relying on automatic white balance. This becomes critical with pale stone, white cladding, and neutral concrete because a small tint can make the building look unconvincing.
Light leaks often appear as reddish or purple streaks along one edge of a multi-minute exposure, especially when sunlight hits the camera body or filter holder from the side. A lens hood, shaded filter holder, or the photographer’s hand placed outside the frame can reduce veiling flare during side-lit exposures.
Vertical correction should stay disciplined. Aggressive perspective correction can crop architectural edges, rooflines, or foreground paving that were composed tightly. Leave a little working room at capture when the camera points upward or when the lens lacks shift movement.
Post-processing with restraint
If clouds or pedestrians create muddy midtones, adjust local contrast selectively rather than pushing global contrast across glass, stone, and sky. Nik Color Efex Pro can help separate tonal areas when used lightly. Nik Silver Efex Pro can support a monochrome architectural rendering, but the structure should still carry the frame before the treatment begins.
Worked example: a limestone library at midday
- Set the tripod across the plaza so the library columns fill the center of the frame, with extra space above the roofline for later vertical correction.
- Level the camera, compose at f/11, ISO 100, and meter the scene without the filter at 1/60 second.
- Focus manually on the column plane, then switch autofocus off.
- Choose a 10-stop ND filter because 1/60 second becomes 16 seconds, enough to soften moving pedestrians without trapping the camera for several minutes.
- Mount the filter, shade the holder from side light, and use a 2-second timer or cable release.
- Make one 16-second exposure as pedestrians cross the steps; wait for anyone posing near the doorway to move before opening the shutter.
- Review the frame for highlight warnings on pale limestone and glass doors, then repeat at the same exposure if the crowd pattern improves.
- In raw processing, correct the ND color shift first, straighten verticals with a modest crop, and apply local contrast to the columns while leaving the blurred figures soft.
The final file should show a sharp limestone facade, clean vertical rhythm, faint pedestrian traces across the steps, and a sky that supports the architecture rather than stealing the frame.





Reader Comments
The conversation starts with you.
Your Comment