
A high-resolution HDR panorama asks three separate techniques to cooperate inside a single file. Each has its own geometry, its own failure mode, and its own set of decisions. When they align, you get a master file that holds wet-rock texture and cloud structure at print-scale pixel density. When one slips, tone mapping cannot save you.
What a Bracketed Nodal HDR Panorama Actually Is
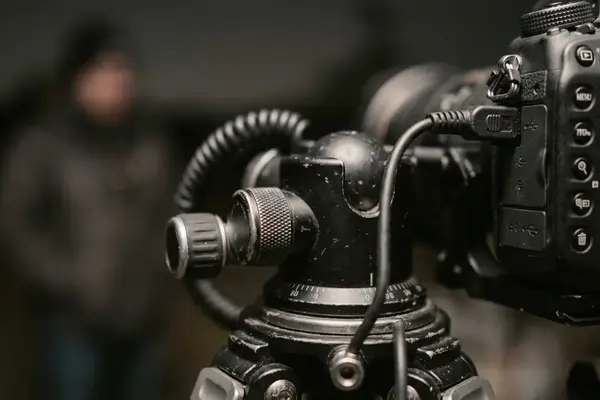
I treat the capture as three nested decisions. The panoramic head controls geometry by keeping the lens entrance pupil over the rotation axis. The bracket sequence records the luminance range at each position. The multi-row grid extends both field of view and effective resolution. Strip any one of them out and the image loses something no amount of processing returns.
The three techniques do different jobs. Nodal rotation governs geometry. Exposure bracketing governs dynamic range. Multi-row coverage governs resolution and framing. Keeping them mentally distinct helps enormously when something breaks, because you can ask which layer is at fault instead of blaming the render.
Consider the raw file arithmetic. A three-row panorama with 8 yaw positions per row and 5 exposures per position produces 120 source files before any zenith, nadir, or safety frames enter the picture. That count exists because a single-row single-exposure frame simply cannot hold both highlight and shadow detail across a wide scene at the pixel density a large print demands.
Equal bracket intervals such as -4, -2, 0, +2, and +4 EV give you a sensible starting pattern. The real endpoints, though, are set by highlight and shadow clipping in the actual scene, not by the nominal frame count.
Parallax as the Silent Failure Mode
Parallax is the relative shift of near and far objects when the camera rotates around a point other than the entrance pupil. It is silent because a single bracket looks perfect on the rear screen. The mismatch only appears once two neighboring positions try to agree on where the foreground sits.
I evaluate geometry before exposure range, because tonal software cannot repair a viewpoint mismatch. If a nearby post changes position against a distant edge between adjacent yaw frames, the stitcher may align the background while duplicating, bending, or breaking that post. A panorama can align cleanly along a distant horizon yet split a foreground railing because the head rotated around the tripod socket rather than the lens entrance pupil.
Here is the trap unique to HDR work. A bracket can contain several exposures with internally identical camera geometry, and every one of them looks consistent. Yet the panorama still fails where two neighboring nodal positions were recorded from different effective viewpoints. The ghosted edge then rides through every merged tonal layer.
A single-row panorama of a distant skyline may tolerate a small calibration error. That tolerance disappears the moment a multi-row composition places rocks, architecture, or foliage close to the lens.
Locating the No-Parallax Point on Your Rig
Start with a two-object alignment test. I level the rotator, mount the camera in its intended orientation, and frame a near vertical edge against a second vertical edge several metres behind it. A practical target pair might be a light stand half a metre to a metre from the lens and a door frame or pole several metres farther back.
Then I pan left and right through the overlap zone and watch the two edges. If the near edge slides against the far one, the rotation axis is off the entrance pupil. I move the camera on the nodal slide and repeat.
Refining the rail position
Coarse rail movement helps only while the relative shift stays obvious. Once the edges nearly lock, rail changes of 1 to 2 millimetres carry the final passes. When the near edge stops sliding relative to the far edge across the whole yaw arc, you have found the point.
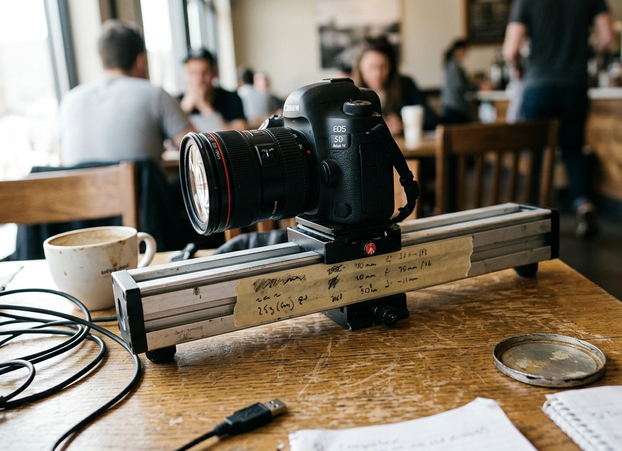
One detail saves a lot of grief later: the entrance pupil moves with focal length and focus distance. A calibration mark should therefore record the camera body orientation, the lens, the focal length, the focus condition, and the rail reading. A zoom or internal-focusing lens shifts that mark, so the number is specific to a setting, not to the lens as an object.
Capturing the Multi-Row Bracketed Sequence
Once the composition is fixed, I meter the brightest and darkest important areas, choose one manual exposure series that covers both, and lock white balance and focus. Discipline at this stage is what lets merge software receive uniform stacks.
The order matters. Lock exposure mode to manual, fix white balance and focus, then shoot the full bracket stack at each yaw position before advancing to the next. Do not let a five-frame stack at one position quietly become a three-frame stack merely because that part of the scene looks darker to your eye.
- Use the same bracket count and EV interval at every grid position.
- Plan a 25 to 35% overlap in both yaw and pitch for feature-rich scenes, with more overlap for water, blank sky, or low-contrast surfaces.
- Use a 2-second self-timer or cable release to keep hands off the camera, and allow a 1 to 3 second settling pause after moving a long lens before the first exposure.
My field check before advancing is short and fixed: verify the rotator click interval or marked angle, bracket completion, locked focus and white balance, row overlap, cable release or timer operation, and lens-hood clearance at the highest and lowest pitch angles. Reading that list twice on-site beats discovering a gap at the computer.
HDR-First Versus Stitch-First: A Practical Comparison
Two workflows can turn the same 120 files into one master, and they trade off in different places.
Workflow A: HDR-first
I group files by nodal position, align and merge each bracket into a high-bit-depth frame, then stitch those merged frames as a normal multi-row set. A grid of 24 nodal positions with 5 exposures becomes 24 HDR frames. Ghost decisions stay local to one camera position, which is a real advantage where foreground water or foliage moves.
Workflow B: stitch-first
Here I stitch each exposure layer across the whole panorama first, then HDR-merge the resulting layered panos. The same grid demands 5 complete panorama renders before the HDR merge begins. The payoff is geometric consistency: every exposure layer can share the same control points, crop, projection, and optimizer parameters.
Whichever route you take, lock white balance, lens corrections, HDR settings, and output profile across every group. Automatic per-stack tonal adjustments create visible bands between neighboring positions, and those bands are miserable to remove after blending.
Merging Bracket Sets into a Clean Master File
On import, I create one folder per row and nodal position, then rename files so position and exposure order sort unambiguously. A naming pattern such as R02_Y06_E-2, R02_Y06_E00, and R02_Y06_E+2 keeps row, yaw position, and exposure value visible without opening a single file.
One representative bracket establishes alignment, deghosting, and lens corrections, and those locked settings carry across the set. Correct vignetting and lateral chromatic aberration before stitching, because dark corners and color-fringed edges otherwise recur at every overlap.
Stitcher setup and seams
Choose a spherical or cylindrical projection appropriate to your field of view, generate control points, and run the optimizer while watching for residual parallax in the foreground. Place seams away from high-contrast edges so blending has an easy line to hide.
Plan your storage before you press merge. A 30,000 by 15,000 pixel RGB master contains 450 million pixels; at 16 bits per channel, the flattened pixel data alone runs roughly 2.7 GB before layers, masks, previews, or document overhead. For very large renders, put the stitcher's cache and scratch files on a fast drive with space well beyond the estimated flattened output, then export a high-bit-depth master before producing print-sized derivatives.
Where High-Resolution Merges Usually Break
Before I pack the tripod, I compare the file count at every yaw stop and review all bracket histograms, not merely the middle exposure. Most disasters announce themselves at this stage if you look.
- Incomplete brackets. A missing bright or dark frame at one yaw stop creates a different dynamic-range envelope from its neighbors and can surface as a vertical tonal patch after blending.
- Changed focus between rows. This shifts magnification as well as sharpness, so control points may align at the center while foreground seams drift near the frame edges.
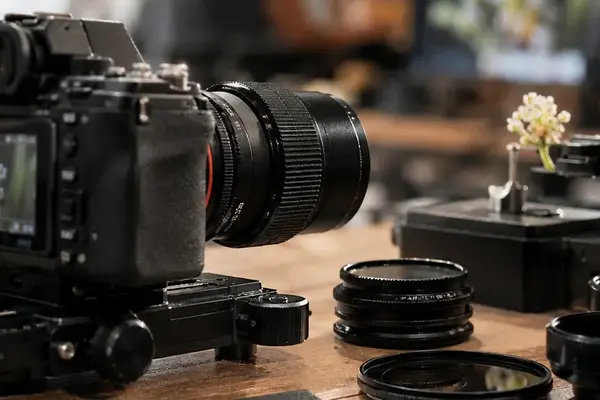
- Polarizer rotation. Turning a polarizer between frames alters sky density and reflections in ways no exposure offset reproduces. Even an untouched polarizer can render an uneven sky across a very wide field.
Moving clouds and water create a temporal mismatch that reads as stitch error after tone mapping. Movement happens twice: within each exposure bracket, and between adjacent yaw or pitch positions. An incomplete bracket at one yaw stop may look like a blending problem even though the real fault is a narrower luminance range than its neighbors — worth remembering, since the two require opposite fixes.
Recovery in order of least damage
If one exposure is corrupted, test a local mask first. Dropping that exposure from every corresponding stack preserves uniform stack structure. Reshooting the affected nodal position stays the cleanest field recovery, provided the light and subject motion have not changed. That the mask should come before the reshoot follows from practice — the accumulated habits of multi-row HDR work suggest as much.
One Hard Light on a Rocky Shore
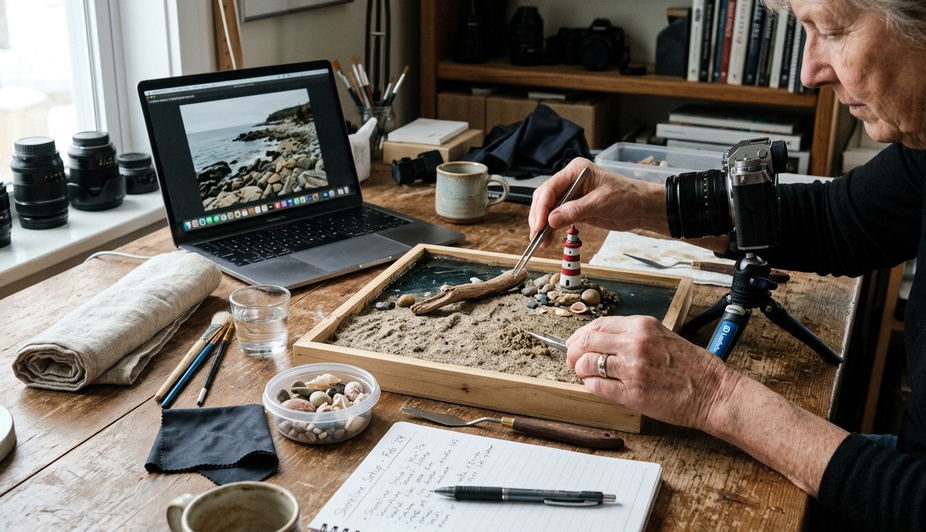
At first hard light on a rocky shore, I placed the nearest tide-pool rim against a bright cloud bank, leveled the calibrated head, and dialed in the recorded rail mark for that lens setting. The horizon was never the hard part. The difficult overlap was the close tide-pool edges crossing neighboring frames, and I used those edges to inspect residual parallax before committing to the final render.
At every click-stop I paused one to three seconds, letting the tripod settle apart from the bracket itself, then recorded the full exposure stack without touching the camera. Click, settle, five frames, advance. The rhythm becomes almost automatic once the calibration is trusted.
The finished high-bit-depth master held specular structure on the wet rock, readable texture in the shaded crevices, and cloud detail across the sky, and it did so without separate white-balance or tone settings for different rows. Standing there in the spray, waiting out each settling pause while the tide worked at the pool rims, the whole procedure had collapsed into muscle memory.



Reader Comments
The conversation starts with you.
Your Comment