
Extreme close-up work fails along two axes at once, and the axes have nothing to do with each other. One is optical: at life-size magnification the band of acceptable sharpness is so thin that a beetle's nearest seta and the far edge of its elytron simply cannot occupy it together. The other is tonal: the same millimetre-scale feature can hold a mirror-bright source reflection and a blocked-up shaded underside side by side. Solve one and the other is still sitting there, waiting.
So before any software enters the conversation, I trace the subject twice. Once for relief, from the nearest droplet rim to the rear contour. Once for reflection, hunting for the places where the light jumps from white glare to nothing. That second pass is what separates missing focus coverage from missing tonal information, and the two need different remedies.
A Sharpness Band Thinner Than a Single Seta
At 1:1 reproduction, depth of field collapses to a sliver. Stopping down widens it, but diffraction arrives to collect its fee, and past a certain aperture you are trading crisp edges for coverage you still don't have. The practical consequence is blunt: a near antenna and a far wing case generally require separate focus stations. No aperture choice rescues you.
The tonal collapse is just as structural. Wet petals, curved chitin, and polished findings behave like tiny convex mirrors. They place a specular image of your light source a fraction of a millimetre from a deeply shaded crevice, and a single exposure has to pick a side.
Naming the Two Failures Separately
Write down which one you are actually seeing. An unsharp seta is a focus-coverage problem. A dead-white dew rim is a tonal-range problem. A ghosted, doubled antenna is neither, it is subject motion, and it will poison merges built from both axes. Those three diagnoses lead to three different decisions at the rail.
Why a Geometrically Perfect Stack Can Still Clip
Here is a question that comes up constantly: the stack aligned beautifully, every plane is sharp, so why does the dew rim look like cut paper?
Because stacking preserves whatever the source frames contained. If the specular ridge was channel-clipped at every focus station, the composite inherits that clipping with perfect geometry. Judge the sources, not the composite. Pull up individual color channels in the brightest dew rim, shell ridge, or metal edge, since a histogram that looks polite overall can hide a red channel pinned at the top.
The mirror-image failure is just as common. Bracket a single focus plane, tone-map it, and you have recovered gorgeous highlight structure on a narrow slice of subject surrounded by optical mush.
Motion Contaminates Downstream
Running both methods multiplies the capture load rather than adding a pass. One antenna twitch, one breeze-driven petal shift, or one rail settling error can contaminate several merges at once, because that frame belongs to more than one merge.
Focus Stations Multiplied by Exposure Settings
Treat capture as a grid. F focus positions times E exposure settings gives you F × E source frames before a single alignment or retouch. The only real question is traversal order, and there are two clean answers.
- Bracket at every station. Complete the full exposure series at one rail position, then advance. Frames destined for the same tonal merge share a focus plane and a moment of subject pose. This is the order for anything that might twitch.
- Stack at every EV. Run a complete focus sweep at one exposure value, then change exposure and sweep again. Cleaner for batch processing, viable only when the subject is rigid.
Pick one and keep it. Mixing orders mid-sequence produces a grid you cannot reason about later.
Step size comes from relief, not from a formula you memorised. Go finer where crossing hairs, droplet rims, and steep contours live, broader across flat expanses. And lock ISO and white balance for the entire grid. When continuous light is bracketed, vary shutter time; when flash is your controlled source, alter the one chosen variable and note it, so alignment later is not fighting color drift and noise mismatch on top of everything else.
Holding the Subject Still Across the Whole Sequence
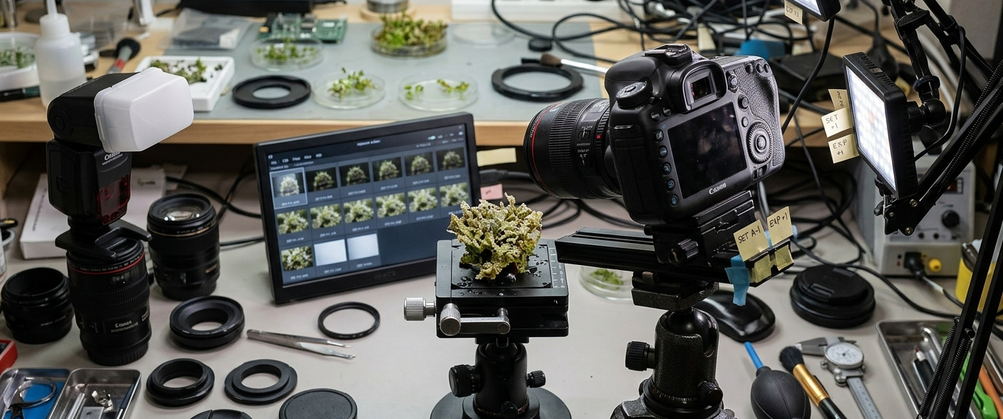
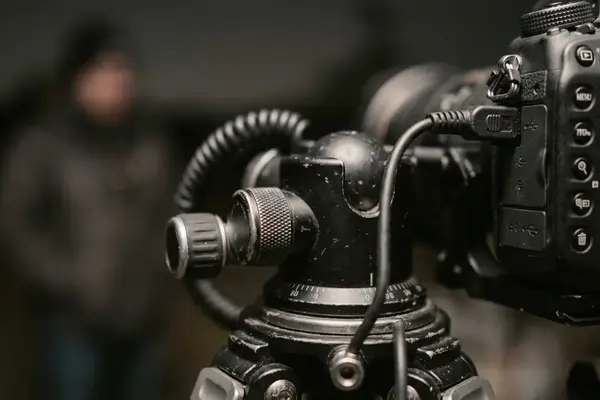
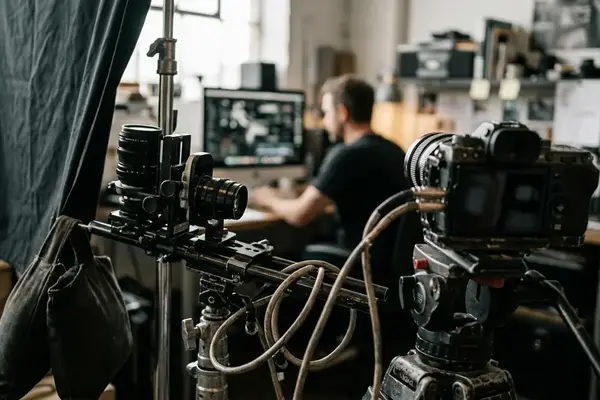
Mount camera and lens as one rigid unit on the focusing rail, lock the head, and advance the carriage in a single direction to keep backlash out of the registration. I gave up on pumping the lens helicoid years ago because internal focus changes magnification as it travels, which means every frame arrives at a slightly different scale.
Find the near and far usable planes first and mark them. That converts an open-ended scan into finite travel with a known end point.
Wait Out the Gust
Place diffusion close enough that its apparent size is large in the subject's reflection, use a short flash pulse to suppress residual motion, and wait through moving air rather than collecting extra stations whose details no longer overlap the ones before them.
Two Merge Paths Through the Same Grid
Build both pipelines from one capture set and compare them honestly.
- Plane-first: align and merge the bracket belonging to each focus plane, normalize the resulting plane images, then focus-stack them. Each tonal merge stays confined to frames sharing one focus distance, which helps when specular structure changes sharply with depth.
- Exposure-first: focus-stack every exposure level separately, align those finished stacks, then merge their tonal range. One depth composite per EV makes the final tonal merge cleaner on rigid subjects where each sequence has matching focus coverage.
Either way, handle ghost correction and geometric alignment before any aggressive local-contrast work. Stretch a specular ridge or an antenna through strong tone-mapping first and the halo is baked in before the aligner ever sees it. If a finishing pass through Nik Color Efex Pro is part of your taste, it belongs at the end of the chain.
No order wins universally. Motion favors keeping neighboring captures together, while translucency and hard speculars often reward plane-by-plane treatment, and no stacker on earth reconstructs a detail that never appeared sharp and unclipped anywhere in the grid.
Chitin, Droplets, and Polished Findings
Soften the light before you add grid density. Move diffusion close until it reads broad in the subject's own reflection, then set a dark test frame so the brightest ridge keeps texture, and a light test frame so the shaded underside carries real information rather than lifted noise. Whichever test fails first tells you which axis needs more samples.
Iridescent chitin wants closer exposure spacing around angle-dependent color while its domed thorax still demands several focus planes, so hold camera, subject, and light angles fixed or you will read hue shifts as exposure shifts. A dewdrop needs dense focus sampling through rim, surface reflection, and refracted interior. A small polished finding with shallow relief may need few stations but a wide bracket running from the highlight edge down into recessed engraving.
Anchor Both Ends
Darkest frame is set by the brightest textured reflection. Lightest frame is set by the deepest shadow that must show genuine surface detail.
How Much Grid Will the Subject Tolerate?
Density has a price that compounds. Every added focus station lengthens the sequence by the full number of bracketed exposures, and every added exposure setting lengthens it by the full number of focus stations. A rigid metal object absorbs a large grid without complaint. A breathing insect or a wind-touched petal does not, and the honest move is fewer captures concentrated on the axis carrying the most important information.
End at the marked far plane instead of grinding through empty rail travel. Stop a live-subject sequence the moment antennae, legs, or droplets stop overlapping their previous positions, because the usable sequence ends exactly where no frame holds the same detail both sharp and unclipped.
So: the next close-up will hold still for only a short grid. Which axis do you sample more densely, focus or exposure?


Reader Comments
The conversation starts with you.
Your Comment