In this Article
- What if your camera could capture a hidden spectrum?
- Infrared Conversion: Hardware That Unlocks New Vision
- Building Custom White Balance with DNG Profile Editor
- Optimizing Captures in Adobe Camera Raw and Topaz Labs
- Field Applications: Camargue Horses and Autumn Landscapes
- Scope and Limitations of Converted Camera Systems
What if your camera could capture a hidden spectrum?
I usually know an infrared scene before I lift the camera. Leaves brighten first. Open water falls toward near-black. The ordinary color relationship disappears, and a different physical order becomes visible.
That effect does not come from software drama. It comes from reflectance. Healthy foliage reflects near-infrared strongly because leaf structure scatters that energy back toward the camera, while water absorbs much of it. In a useful field preview, I look for a foliage-to-water luminance separation of roughly 35% or greater before I commit to an infrared composition.
Standard cameras fight this. Their internal hot mirror suppresses infrared wavelengths because ordinary color photography depends on separating red, green, and blue visible light with some discipline. When that suppression remains in place, the camera records only a weak remnant of the hidden spectrum, often with long exposure times, muddy tonality, and uncertain focus behavior.
Critical Insight: Infrared photography starts as a capture problem, not a preset problem. If the sensor never receives enough near-infrared energy, no conversion in Nik Silver Efex Pro, Nik Color Efex Pro, or any other editor can fully restore the missing separation.
For deciduous vegetation in most EU temperate locations, I would scout candidate scenes between mid-May and late September, when leaf reflectance makes the hidden-spectrum effect obvious. I would not start with a grand vista. I would start with one tree over dark water at Blue hour's edge, then compare the visible preview with the infrared raw preview. That small comparison teaches more than a folder of finished examples.
The durable solution is a permanent conversion, followed by a custom camera profile and a disciplined white balance workflow. The camera then stops pretending to be a visible-light instrument and becomes a near-infrared camera with its own rules.
Infrared Conversion: Hardware That Unlocks New Vision
What changes inside the camera?
The common question is simple: why not just put an infrared filter on the lens? You can, but the standard sensor stack still blocks much of the radiation you want. A permanent conversion removes or replaces that internal blocking filter so the sensor receives infrared light directly through a chosen pass band.
Life Pixel is one service photographers use for this kind of modification. In the workflow discussed here, the practical choice is a permanent internal infrared pass filter rather than a removable front filter. For high-contrast monochrome work with limited visible-light contamination, I would choose an internal infrared pass filter in the 713-743 nm band.
That choice creates a deliberate fork in the camera system. A converted Nikon D4, for example, no longer behaves like a normal color body that happens to have a creative filter attached. It records only the infrared energy admitted by the conversion filter, and every exposure decision follows from that hardware fact.
Field experience revealed that planning matters almost as much as the filter band. For EU-based shipping, customs handling, calibration, and test captures, I would allow a service-and-return window of approximately three to four weeks. That window gives the photographer time to verify focus behavior, exposure compensation, and lens hotspot tendencies before travel.
Why the conversion should be treated as technical work
In a Nikon-sponsored presentation on infrared workflow, the most useful point was not brand loyalty; it was system thinking. Body, filter, lens coatings, raw converter, and white balance form one chain. If one link changes, the tone structure changes.
Converted cameras reward that discipline. They also punish casual assumptions. The exposure may look familiar, but the spectral response is no longer the response the camera maker designed for everyday visible-light work.
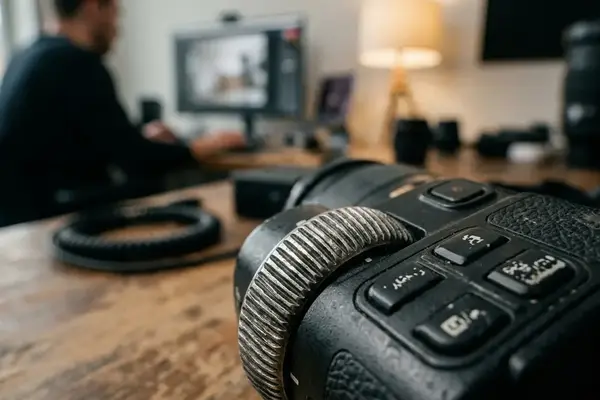
Building Custom White Balance with DNG Profile Editor
From a beginner's red file to a controlled profile
The first infrared file often looks wrong. It may open as a red, low-contrast frame with a histogram that seems detached from the scene you remember. That appearance can unsettle beginners, but it is not automatically a bad capture.
I build the workflow in this order: capture, profile, validation. Infrared files often look wrong before they are technically wrong, so I want a repeatable way to separate profile error from exposure error.
- Photograph green foliage, neutral grey material, open water, and sky during the same test session.
- Keep the same lens and aperture range you plan to use in the field.
- Convert the raw file to DNG for profile editing.
- Open the file in Adobe DNG Profile Editor.
- Create a dedicated profile named NikonD810IR for the converted body.
- Apply the profile in Adobe Camera Raw and inspect neutral foliage, sky, and water behavior before editing creatively.
Training logs show that the cleanest profile checks come from a controlled test block, not from travel files made under pressure. I would build and verify the infrared profile across a dedicated week, using the same lens and aperture range planned for field work.
The rejection criterion must be numeric. If the neutral foliage sample still shows red-channel dominance above nearly 20% after the first calibration pass, I reject that custom profile and repeat the calibration. Guessing by screen color alone invites inconsistency.
When auto white balance refuses to cooperate
Some converted cameras cannot set a reliable custom white balance in-camera under infrared light. When that happens, I switch the camera preview to black and white mode. This does not make the raw file monochrome, but it gives me a practical composition preview without the distraction of a red-biased display.
The September 2017 Shutterbug Magazine feature on this kind of infrared process gave the workflow real-world context: photographers were not building profiles as decoration. They needed field files that could survive print-oriented editing, workshop review, and client-facing presentation.
Recommendation: Label the converted body and its profile clearly. A name like NikonD810IR prevents the most common catalog mistake: applying a visible-light profile to an infrared file and judging the capture unfairly.
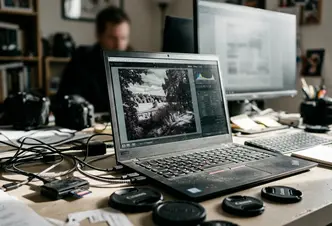
Optimizing Captures in Adobe Camera Raw and Topaz Labs
Start with raw tonality, not effects
I begin in Adobe Camera Raw because infrared conversion must pass a tonal test before it receives a creative treatment. Highlights in white foliage, pale stone, reflective clouds, and white animals can clip quickly. I keep highlight clipping below about 2-3% before moving into monochrome effects.
My first adjustments are restrained: exposure, highlight recovery, black point, and local contrast. I do not add glow, grain, or star effects until I know the raw file has enough separation to stand without decoration. Observation data supports this sequence because profile errors and field-condition errors become easier to separate when the first-pass edit happens before travel pressure builds. For that reason, I would run the first-pass edit sequence in a dedicated block of days before a workshop or major location set.
Once the raw file holds together, Topaz B& W Effects can shape the monochrome rendering. I use it to refine microcontrast and tonal placement, not to rescue a weak capture. Topaz Star Effects belongs later, and only when point light actually supports the visual argument: sun glints on water, specular highlights on tack, or a small bright edge on stone.
Where Nikon Capture NX2 still fits
Nikon Capture NX2 remains a useful alternative in older Nikon-based workflows, especially when a photographer has archived settings tied to a specific converted body. I would not rebuild a modern workflow around it from nothing, but I respect its place in established field practice.
Nik Silver Efex Pro and Nik Color Efex Pro can also enter the workflow, especially for print interpretation. The key is sequence. Raw control comes first, then monochrome interpretation, then selective atmosphere.
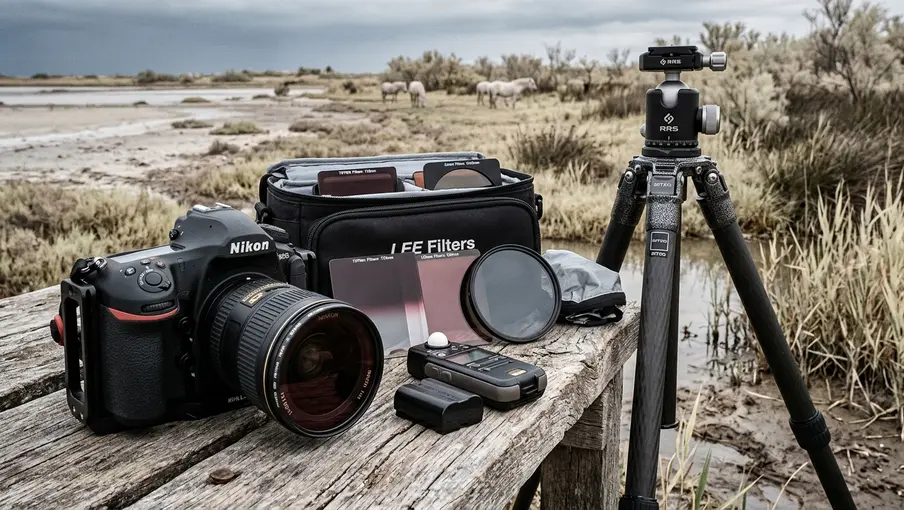
Field Applications: Camargue Horses and Autumn Landscapes
The Camargue gives infrared photography a clean test: pale horses, reeds, water, and open sky. With a converted Nikon D4 on an Induro CT113, I would look for the moment when white coats separate from darker surroundings without losing detail along the mane or shoulder.
Aim for a subject-background brightness difference of approximately 30% or more when photographing pale animals against reeds, water, or dark sky. Below that, the image may still feel graceful, but the infrared signature weakens. Above it, the horse can carry the frame without heavy processing.
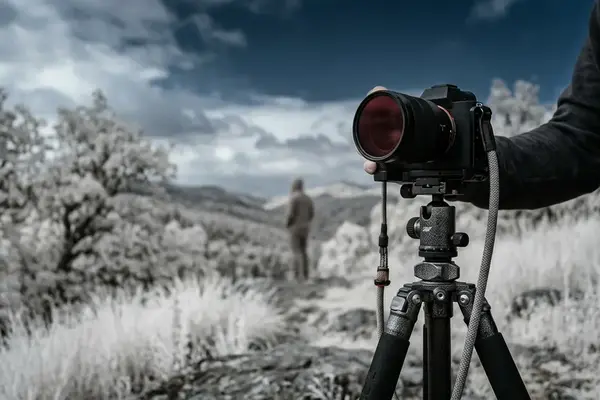
The tripod matters here. It steadies composition while animals shift in small, unpredictable ways, and it lets me stack subjects visually: one horse forward, one partially veiled behind, sky compressed above. Dark skies help, but they should not become a gimmick. The strongest frames let the animal's form and the infrared tone structure share the work.
Autumn landscapes ask for a different rhythm. In northern and alpine EU locations, I would schedule high-contrast foliage tests through late September into mid-October, with earlier checks in early to mid-September at higher-elevation areas. The color season does not translate directly into infrared strength, but leaf condition, moisture, and sky clarity change the tonal field.
Visual narrative in infrared scenes
Infrared compositions often fail when everything is bright. I want conflict: reflective leaves against water, pale horses against dark reeds, stone against sky. Long exposure can help water fall into a calmer tone, but it should serve the spectral relationship rather than hide it.
Group feedback indicates that viewers read infrared images more clearly when the frame contains one dominant tonal surprise. White foliage over black water works. A white horse against a storm-dark sky works. Five competing surprises usually dilute the effect.
Scope and Limitations of Converted Camera Systems
A converted body is not a flexible accessory. It is a hardware decision. Returning it to standard color capture requires another hardware intervention rather than a menu change, so it is a poor choice for photographers who still need that same camera for ordinary visible-light assignments.
Risk Factor: The modification is irreversible in practical field terms. Treat the converted body as a dedicated infrared camera, not as a normal camera with a special mode.
The main failure case is dull grey files under dense cloud with wet foliage. In that condition, the infrared reflectance difference between leaves, soil, and water collapses before post-processing begins. Software can increase contrast, but it cannot create strong spectral separation that the scene did not provide.
Based on community experience, expect the usable keep-rate to drop by roughly 25% to 35% on overcast, low-contrast days compared with bright sun sessions using the same converted body. EU travel locations with maritime haze may need lower contrast and more highlight protection than dry inland locations, even when the camera, filter band, and raw profile are identical.
Infrared conversion field-to-edit checklist
- Confirm the body is permanently converted and labeled so it is not mistaken for a visible-light camera.
- Photograph green foliage, neutral grey material, open water, and sky during the same test session.
- Verify the dedicated infrared profile before judging color or monochrome potential.
- Check for lens hotspots, exposure compensation errors, and white balance instability across several field sessions.
- Keep highlight clipping below about 2-3% before moving into monochrome effects.
I would test the system across roughly three weeks before committing it to travel. White balance faults, lens hotspots, and exposure compensation problems usually appear within the first 6 to 11 field sessions. Workshops in India and Iceland demonstrate the same boundary in different ways: strong light and clear separation can make the converted system sing; haze, wet surfaces, and flat skies can compress the file before editing begins.
The final judgement should stay precise. Within the near-infrared bands discussed here, not across all spectral imaging practice, a converted camera offers a disciplined way to photograph light that the eye cannot see. It does not guarantee drama. It gives the prepared photographer a new set of physical relationships to compose with.


Reader Comments
The conversation starts with you.
Your Comment