
Thin, Articulated Layers Outperform Expedition Bulk at the Tripod
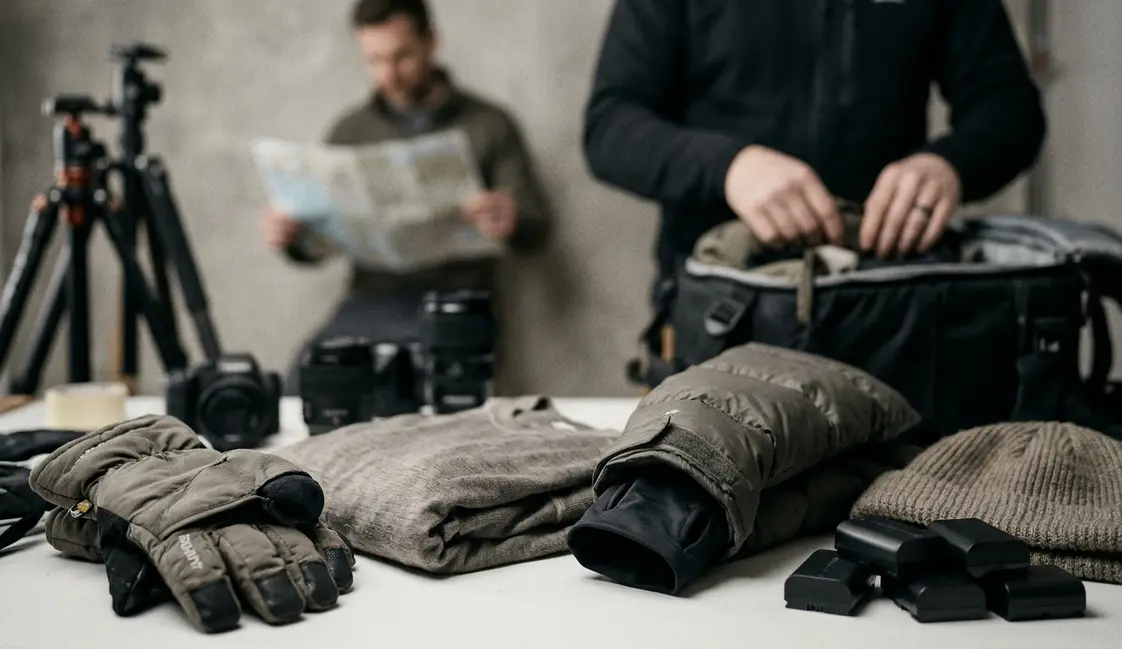
The winter kit that actually produces photographs is a thin, articulated layering system sized for a working stance at the tripod. High-loft expedition parkas belong at a base camp, where standing still is the entire job. Still photography in the cold requires a continuous sequence of small, precise motor tasks performed in moving air.
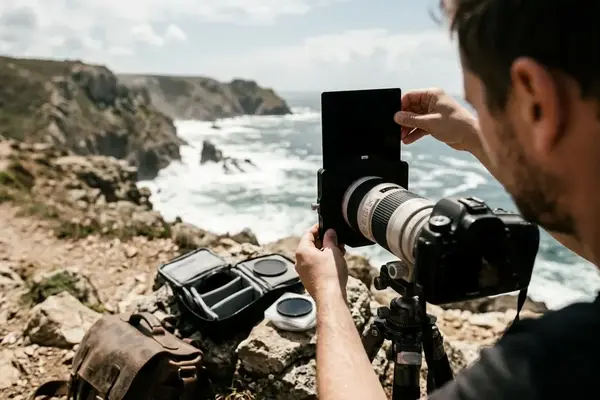
Finger mobility, cuff access, and battery warmth decide whether the exposure gets made before the light changes. During blue hour, the tonal balance shifts every few minutes; fumbling with an oversized baffle or a stiff gauntlet means missing the frame entirely. If you cannot feel the detents on a front command dial or seat a square neutral density filter into its holder without looking, your clothing has become an obstacle to the camera.
Evaluate your cold-weather garments while raising the camera to eye level, turning an exposure-compensation dial, reaching a spare battery, and crouching beneath the tripod head. Perform this fit check with the actual base, mid layer, shell, and gloves worn together rather than testing each piece in isolation. You need to verify both a standing viewfinder position and a low crouch with one hand reaching down to the leg locks.
Hoods, Cuffs, and a Viewfinder You Can No Longer Reach
Why do so many cold-weather shoots stall before the first frame is even recorded? The failure usually traces back to mechanical interference between heavy winter garments and the camera body itself. When I tested a deep snorkel-hooded parka during a freezing coastal long exposure session, the stiff wire brim hit the top plate before my eye ever reached the rubber eyecup.
A bulky coat fights the camera at three specific points: an oversized hood blocks the eye from the viewfinder, a stiff cuff hides the shutter button, and a long hem snags tripod legs when you drop down for a low foreground composition. The aperture-change breakdown happens in seconds: the hood reaches the eyepiece first, the cuff covers the shutter hand, and an unsecured glove flap falls right across the dial. You end up fighting nylon instead of watching the histogram.
Heat loss compounds the mechanical frustration whenever a garment lacks exterior working pockets. If you keep your microfiber cloth tucked inside your jacket and have to pull down the main zipper to wipe spindrift off a front element, you expose your insulating layers to the wind and dump the warm air the coat was holding. According to occupational guidance on cold stress, physiological risk tracks air temperature, wind, moisture, and time outdoors together rather than a single thermometer reading. Dropping your core heat by repeatedly unzipping a heavy shell in damp wind accelerates fatigue across the entire outing.
Run two physical checks in your living room before committing to a jacket. First, cinch the hood fully and turn your head toward the viewfinder to confirm the hood follows your skull without blinding your shooting eye. Second, practice retrieving a lens cloth with the main shell completely closed, then crouch beside your setup to verify the lower hem clears the tripod legs and center-column controls.
A Base, a Mid, and a Shell Cut for a Working Stance
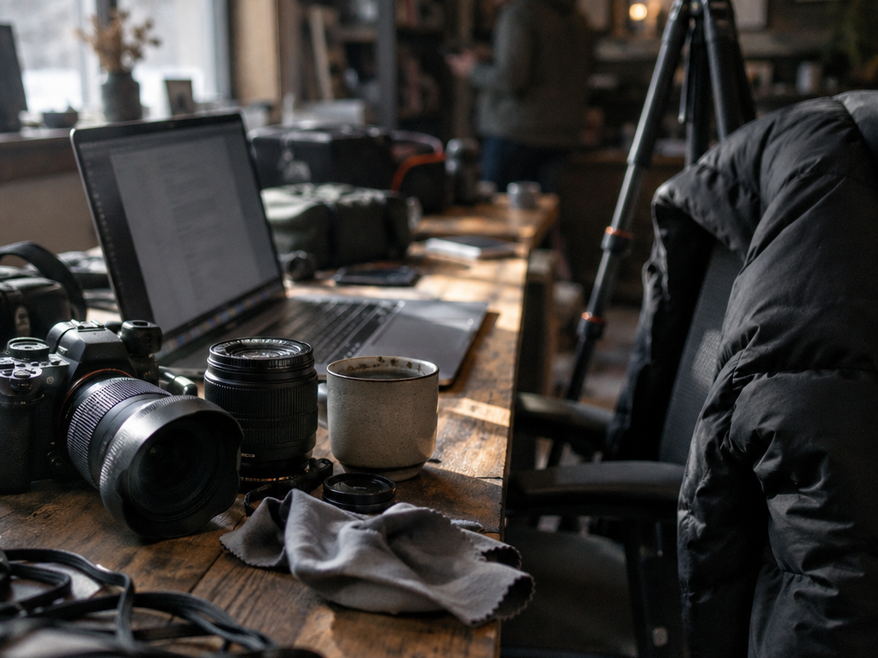
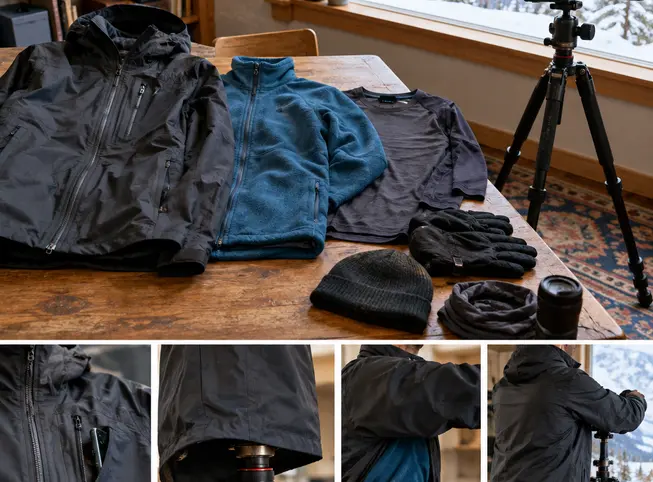
Building an effective kit starts from the skin and works outward around moisture management and joint articulation. This three-part structure applies to day-length still-camera outings in dry-to-damp cold, rather than high-altitude climbing or multi-day polar travel. You want three distinct pieces that move as a single unit when your arms are elevated:
- A close-fitting base layer: Sits smoothly beneath heavy camera pack straps and moves sweat off the skin during the hike in.
- An articulated mid layer: Built with shaped elbows that allow you to hold a camera at eye level without pulling the cuffs back up your forearms.
- A ventable outer shell: Equipped with underarm zips or two-way pockets so you can dump excess heat from the approach without opening the main front zipper.
Choosing the right mid layer requires balancing your hiking effort against the wind exposure at the tripod. Traditional fleece breathes readily on a steep approach, yet it offers almost no wind resistance and wets out quickly in blowing snow. Synthetic active insulation retains its loft when damp, blocks more wind when the outer shell is vented, and packs down much smaller inside a camera bag.
Skip the thigh-length expedition parka whose thick down baffles resist a bent elbow. Prefer a tailored softshell or a lightly insulated hardshell featuring an accessible, camera-side chest pocket. The shell-fit boundary is measured at the tripod: raised elbows must not compress the mid layer against your joints, and the crouching hem must clear the tripod collar.
Test the complete upper-body assembly by extending both arms toward an imaginary camera on a head. Check that the shoulder yokes and elbows do not pull tight and flatten the underlying insulation, which creates immediate cold spots. Keep one hand fixed on the grip while your other hand reaches for the exterior chest pocket to confirm you can grab a filter or release cable seamlessly.
Liner, Shell, and a Trigger Finger That Still Finds the Dial
Once your torso layering lets you reach the tripod head freely, the bottleneck shifts to your fingertips. Operating small camera controls in biting wind exposes the limits of single-piece handwear. If you want to capture clean brackets that hold crisp micro-contrast in Nik Silver Efex Pro or accurate tonal transitions in Nik Color Efex Pro, you have to execute clean, shake-free dial adjustments in the field.
Compare the three standard hand systems on a single mandatory task: changing your aperture in a stiff crosswind. A heavy mitten holds heat reliably, yet it turns your hand into a blunt club that conceals the command dial. A thin liner glove preserves tactile touch on the controls, though wind strips its warmth away in moments. The proven working compromise is a snug liner worn permanently underneath a fold-back overmitt.
Discipline makes this two-part glove system work. The thin liner stays on your hands for the entire session. You pop the magnetic or hook-and-loop overmitt flap open only for the few seconds required to spin a dial or swap a filter, then close the shell immediately before your fingers stiffen.
Verify Dial Tactility Indoors
Put your liners on before leaving the house and turn the aperture dial through several stops while confirming the readout on the rear display. Practice securing the folded-back overmitt flap to its catch so loose fabric cannot drop across the shutter button mid-exposure.
Treat every piece of bare metal on your rig as an active heat sink. Chilled aluminum or carbon-fiber hardware, anodized lens barrels, and magnesium camera backs draw warmth out of human hands rapidly. Always keep your liner fabric between your skin and the equipment, and avoid sustained gripping of frozen tripod legs even through a thin layer.
Spare Batteries Against the Body, Not in the Camera Bag
Keeping your hands functional means very little if the camera body dies the moment you frame the composition. A battery pouch tucked neatly into the top compartment of a camera backpack makes sense at room temperature, yet it fails reliably in freezing conditions. You have to choose your spare-battery storage location by its thermal environment rather than organizational convenience.
The failure mechanism inside the cell is straightforward physics. As a lithium-ion battery cools, its internal resistance rises and the voltage available under load drops sharply. A cell that indicated a full charge inside a warm vehicle can trigger a sudden low-battery shutdown outdoors, especially when driving a bright rear LCD or holding a sensor open for a long exposure.
An unheated nylon pouch inside your pack tracks the ambient outdoor air, delivering a thoroughly chilled battery when you need a swap. Carrying your spares inside an inner-chest pocket traps rising body heat around the cells so they enter the camera warm and ready to deliver current.
- Carry at least two compatible spare batteries in an inner pocket positioned beneath your insulating mid layer, not in an uninsulated exterior shell pocket.
- Keep every loose battery in its own protective plastic case or terminal cover to prevent metal items in your pocket from bridging the contacts.
- Swap the active battery out before it drains completely; rotating a fading cell back into your warm chest pocket often restores enough voltage for emergency shots later.
- Keep chemical hand warmers away from camera battery doors, bare skin, and loose lithium cells, ensuring any supplemental heat remains indirect and follows the manufacturer's safety guidelines.
Thermal management continues when the shoot ends and you head back inside. Before stepping into a warm cabin or heated car, seal the cold camera and lens inside a dry plastic bag or zip your pack shut while still outdoors. Leave the gear sealed until it warms gradually to room temperature, forcing moisture in the humid indoor air to condense on the outside of the bag instead of coating your cold glass and sensor.
Pack the Mid-Weight Shell and Leave the Expedition Parka at Camp
For a day of winter still photography, pack the fitted three-layer clothing system, the liner-and-overmitt pair, and two protected spare batteries tucked into an inner chest pocket. Build your kit around the working-stance test: a ventable mid-weight shell that leaves the viewfinder completely unobstructed, articulated sleeves with cuffs that stay clear of the command dials, and a battery pocket you can reach without dropping your main zipper. Leave the high-loft expedition parka behind for standing around camp after the light fails; it is built for waiting out the cold, whereas a mobile, articulated system is built for making photographs.



Reader Comments
The conversation starts with you.
Your Comment