
In this Article
- Atmospheric Rendering, Defined Before Sharpness
- How Flat-Field Correction Flattens Mist and Ridges
- Where Older Glow Comes From, and How to Read It
- Mounting a Film-Era 50mm or 85mm on Mirrorless
- One Tidal Creek, Two Lenses, One Keeper
Atmospheric Rendering, Defined Before Sharpness
Atmospheric rendering is the optical condition in which haze, gentle microcontrast falloff, and controlled flare make distance, moisture, and weather readable as mood rather than as uniformly resolved detail. I start there because every argument about lens sharpness goes sideways without it.
Here is the claim that follows from the definition: a vista can be geometrically sharp from corner to corner and still fail to hold the air that made the place worth photographing.
Three terms carry the rest of this piece, and they are easy to blur together:
- Clinical acuity describes edge-to-edge resolution paired with strong local contrast.
- Optical character describes the signature a lens leaves through residual aberrations, coatings, and flare.
- Inherent mood describes the scene's weather and depth as you actually met them, standing there in the damp.
My favorite diagnostic is the transition from foreground grass to a veiled tree line. Ask whether both resolve, and then ask the harder question: do their different distances remain perceptually legible? A file can pass the first test and fail the second completely.
How Flat-Field Correction Flattens Mist and Ridges
Modern landscape primes and zooms earn their reputations honestly. Strong correction, effective antireflection coatings, and high off-axis resolution are exactly what product, architecture, and copy work reward. If you photograph a facade at blue hour, you want every window mullion clean and every streetlight free of ghosts.
Carry that same rendering priority into an environmental scene and the bill comes due in particular places. Mist starts to read as a gray overlay laid across the frame instead of a volume you could walk into. Backlight outlines twigs with bright, definite edges rather than blooming into the surrounding air. Successive ridges keep their outlines so insistently that the eye stops reading depth and starts reading a map.
The mechanism deserves accuracy. Dense multicoating suppresses internal reflections, so less stray light veils the image. Aspheric surfaces and extra-low-dispersion glass control aberrations across the field, which raises contrast at the edges as well as the center. Together these cut the faint veiling that once helped separate one plane from the next.
Two cautions keep this honest. A high-resolution capture inspected closely makes differences in edge structure, residual aberration, and flare more conspicuous, yet it cannot erase real haze or make a distant ridge physically as detailed as the foreground. And veiling flare, while it can suggest luminous air, remains distinct from the scene's actual distance-dependent haze. One is the lens; the other is the weather.
Where Older Glow Comes From, and How to Read It
The question I hear most often: why does an old 50mm look "dreamier" in fog? The useful answer separates the sources of softness before anyone reaches for brand mythology.
Spherical aberration near full aperture
Spherical aberration arises when rays passing through different zones of the lens fail to converge at the same axial position. In a simple, undercorrected prime, that places a soft halo around an otherwise defined image near maximum aperture, easing the transition into highlights. Stopping down excludes the peripheral rays and reduces the glow.
Single and early coatings
Single and early antireflection coatings generally suppress reflections less effectively than modern multicoating. A little flare can wrap bright edges, and lower microcontrast keeps a mid-distance veil intact. Whether that produces useful veiling depends on the optical design and where the bright source sits, so age and coating count alone tell you very little.
Heavy modern coatings kill ghosting usefully in city night work and long exposure under sodium lamps. In a backlit marsh they can be useless, because there a trace of veiling is the atmosphere.
The signature on a file
Look for highlight bloom that stays local, a focus plane that is definite but not brittle, and corners that fall off in tone before they fall off in geometry.
Shade Test First
With the camera locked on the tripod, shade the front element with your hand or a card, keeping it out of the image. If the luminous veil changes markedly while the mist itself holds steady, you are seeing a stray-light contribution from the lens rather than weather already recorded in the scene.
Treat this glow as an expressive option for deliberate frames in mist, haze, or low sun. It does nothing for architectural precision, species-level feather detail, or measurement work.
Mounting a Film-Era 50mm or 85mm on Mirrorless
If you have never adapted a lens, the process is simpler than forum threads suggest. Work through it in order:
- Choose a simple manual prime with an aperture ring. A film-era 50mm normal or 85mm short tele makes a concrete starting point; its angle of view on your body depends on sensor size.
- Identify the lens's original mount and compare its flange focal distance with your camera's. The body's registration distance must be shorter.
- Buy a plain mechanical adapter with no glass of its own. Its only job is placing the lens at its intended distance from the sensor so infinity focus survives.
- Before any field outing, check mounting security, adapter play, light leaks, and off-center softness.
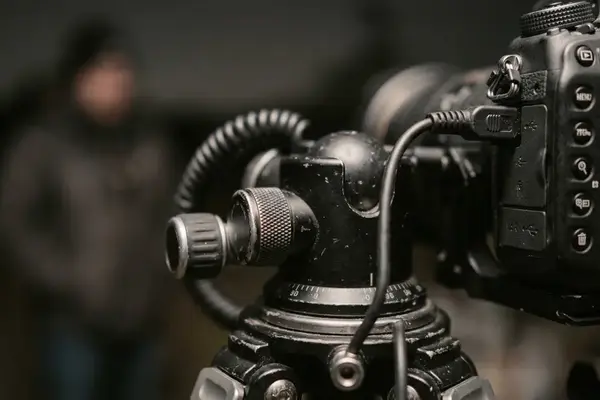
Then reset your expectations about the electronics. Set aperture on the lens itself. Electronic aperture control, focus-distance reporting, and lens identification are generally absent, so magnified live view and focus peaking become your focusing method. That trade of responsiveness for control makes this setup a poor first choice for fast action, though a calm marsh rarely demands speed.
Once you are comfortable, refine. Recheck focus at the taking aperture, since spherical aberration can shift focus as you stop down. If the center is sharp while the edges focus at another distance, suspect field curvature before assuming you missed central focus.
Stop Down Sparingly
Close the aperture only until the subject plane holds, often a stop or two from wide open. On a lens opening to f/2, that means comparing f/2.8 and f/4 against the wide-open result. At f/11, diffraction may begin to reduce fine-detail contrast, and you will have stopped away most of the glow you adapted the lens to get.
One Tidal Creek, Two Lenses, One Keeper
I learned more from one damp evening of paired frames than from a season of reading lens reviews. The method is easy to borrow.
From a single tripod position, photograph one scene with the corrected kit lens and again with the adapted prime. Zoom the kit lens to match the prime's angle of view rather than walking closer. Focus both on the same mid-distance plane. Keep white balance and exposure intent fixed, use the same nominal aperture for the first pair, and adjust shutter speed to hold comparable exposure while preserving highlight headroom in the bright mist.
Make the frames consecutively and note any change in wind, mist, or light. A paired frame is a field comparison, not an optical bench measurement, and a drifting fog bank can fool you.
Picture a tidal creek at dusk. Cordgrass fills the near plane, mist lies over the water, and the tree line dissolves. In the corrected file, trace the breakdown point: somewhere between the cordgrass and the far shore, near-plane edge emphasis overtakes the creek's veil and turns the dissolving trees into one more equally insistent outline. In the adapted file, the far shore should read as air.
Judge at Print Size
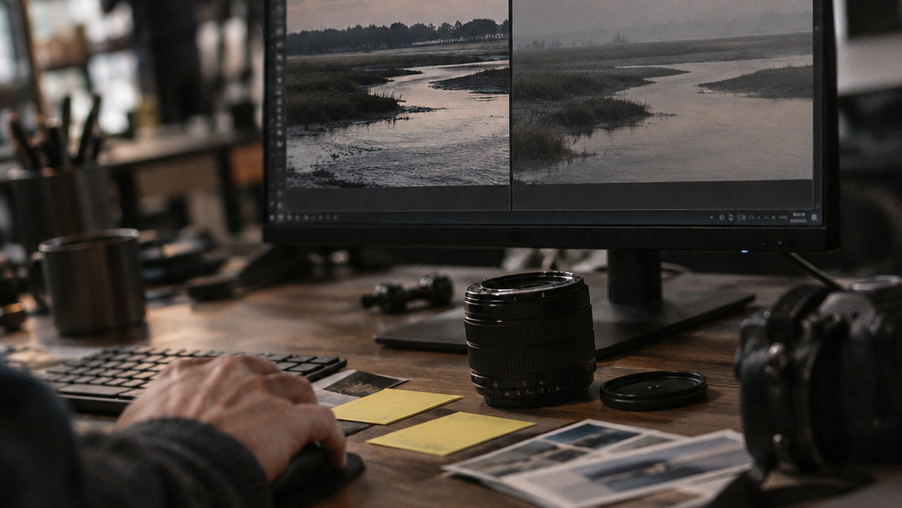
Process both raw files with matched sharpening, clarity, and dehaze. Hold off on glow filters in Nik Color Efex Pro or a monochrome pass in Nik Silver Efex Pro until after you decide, so software never masks the lens difference.
Pack the adapter and the old prime for your next foggy morning, set up beside the first water you find, and shoot that pair before the mist lifts. View both at the size you will print or publish, keep the frame where distance still breathes, and delete the other one.







Reader Comments
The conversation starts with you.
Your Comment